Adding Content to a Page
- Go to the page where you want to place the new content.
- Click on the easy edit arrow at the top left corner of your screen to expand the Editor Panel.

- Click the Add Content button, which will bring up a list of Content Types.
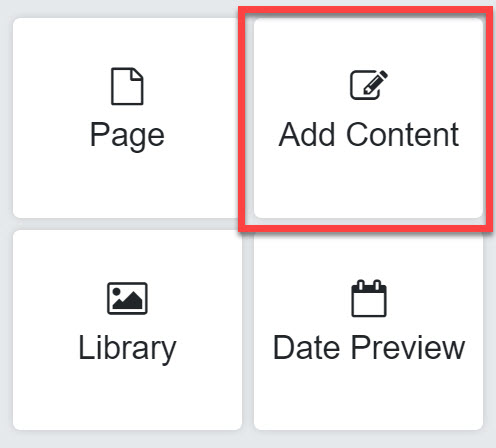
- Scroll through the Content Types list and select the type that you need.

- Click Next.

- This will take you to the Placement tab, where you can set your content placement, and panel location.

- This page only: Places the content on the current page only
- This page and any page beneath it: Places the content on the current page, and any subpages of the current page (pages listed under the current page).
- Every page: Places the content on every page of your website.
- Panel Location: Select the panel where your content will be placed. The options will vary depending on which page template you are using. All available panels for the current page template will be listed.
- Click Next.
- Depending on the type of content you selected, you may or may not be taken to the Details tab. This tab has additional settings specific to each type of content. If you see this tab, choose your desired settings, then click Next.
- You will be taken to the Publish Dates tab, where you can choose a start and stop date for when this content will be live on the page.

- Start Date: The current date is automatically selected as the start date. This is the date when the content will begin to display in published mode. If you select a date that is in the future, this content will not display in published mode until the selected date.
- Stop Date: Check this box if you want your content to expire. Choose a date of expiration. On this date, the content will stop displaying in published mode. If you choose a date in the past for this field, the content will not display in published mode. You may also choose to leave this box unchecked, if you want your content to remain live indefinitely, with no expiration.
- Expiration Notice: Check this box if you would like to receive an email notification when this content is expiring. Enter your email address and the number of days prior to expiration that you would like to receive the email.
- Click Next. This will take you to the Visibility tab, where you can choose the roles of those who will be allowed to see this content.

- Choose if you want this content to be visible to everyone, or only to logged in users of the site.
- If you choose to display the content only to logged in users, check the boxes for the user roles of those who will be allowed to see this content.
- If you are on a child site, click Finish to add this content. Then click the Save icon on the editing toolbar.


- If you are on a parent site, click Next. This will take you to the Publishing tab, where you can choose which child sites will receive this article or other content type (this tab appears on parent sites only).

- Make this content available to child sites: check this box if you want the content to display on child sites
- Child site may edit this content: check this box if you want this content to be editable by users from the child sites.
- This content will be: Choose whether this content will be required or optional on child sites.
- Please select the sites to publish this content to: if you checked the box for 'make this content available to child sites', you may now select which child sites will receive the content. If you unchecked this box, this field will be grayed out.
- Click Finish to add this content.
- Click the Save icon on the editing toolbar.
Add Content Below
New content is always added to the bottom of the selected panel. You can use the Add content below icon to add new content directly underneath an existing piece of content. To do this:
- Click on an existing piece of content to bring up the editing toolbar.
- Click the Add content below icon.

- Go through all the steps for adding content that are listed above.
- Click Finish. Your new content will be added in the desired place.